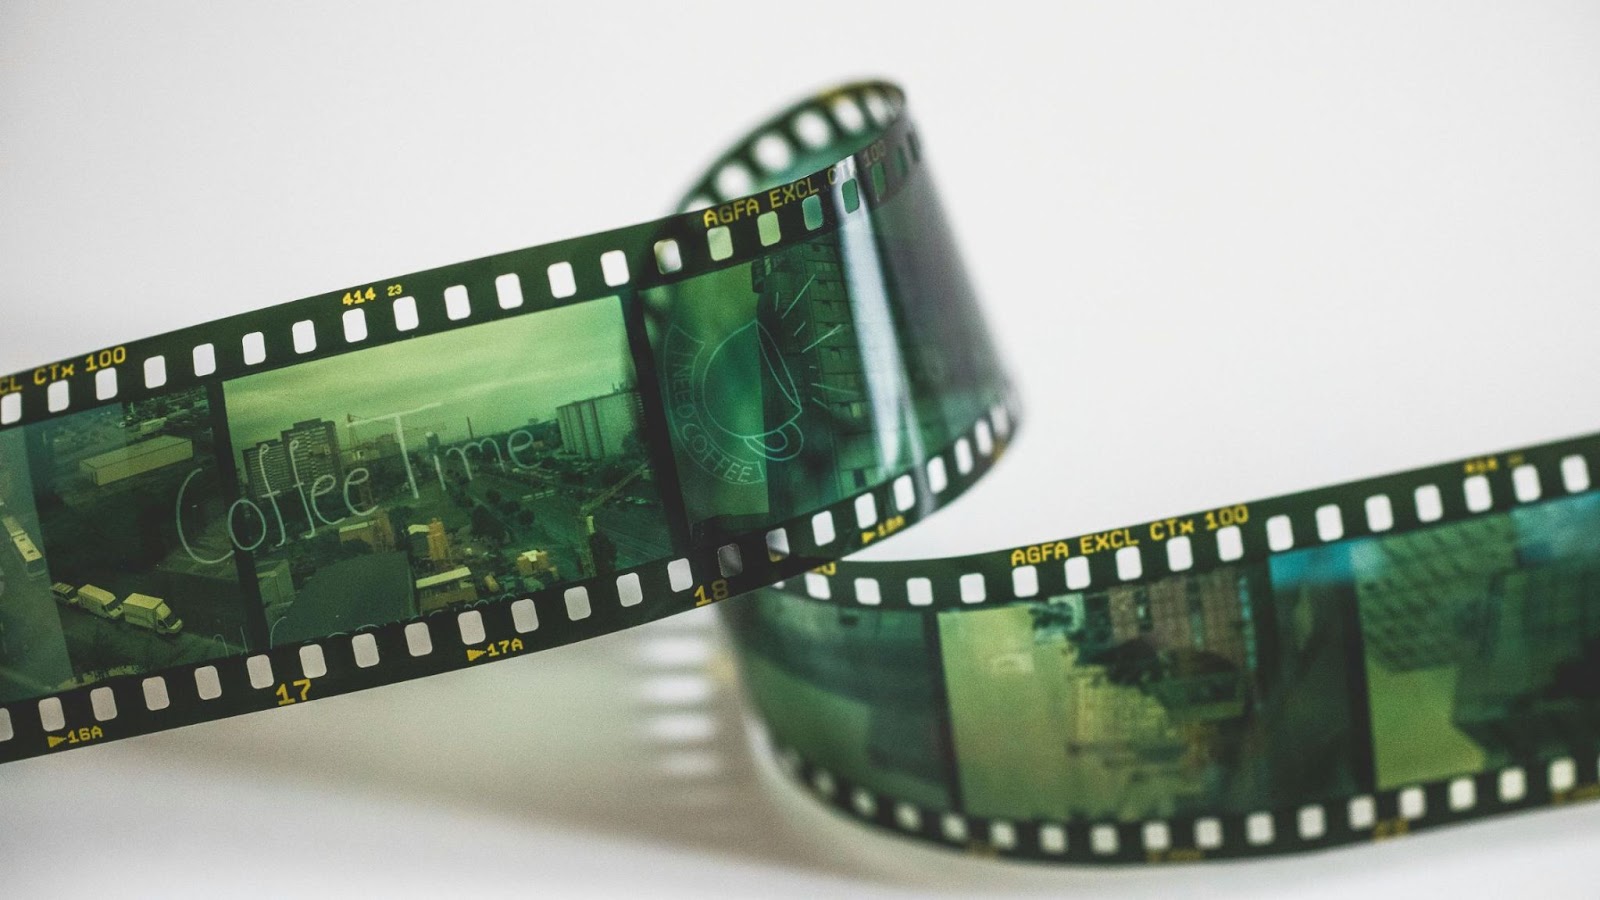
Film photography has captivated photographers in a way that digital photography can never, and developing your own 35mm motion picture film at home can be a really rewarding experience. If you're planning to use your ORWO black-and-white films, it's going to be super helpful to know how to develop 35 mm film yourself.
At Orwo film shop, we've been making film emulsions for over 116 years. And today, we'll take you through every step you need to know about how to develop film 35mm.
Why Develop Your Own 35mm Film?
Before we dig into the technical side of how to develop 35mm, let's talk about why it's worth it. Many photographers wonder how to get 35mm film developed professionally, but home development has some advantages.
When you develop your film, you get to decide everything: the temperature, timing, everything. This lets you customise the development to get the effects you want, which brings out the best in films.
At first, the cost of the equipment might seem like a lot. But once you have everything set up, it is actually pretty low. Compare that to professional labs, which often charge $10-20 per roll. You don't have to wait days for lab results. Your images are usually ready within hours. This speedy turnaround helps you pick up skills faster.
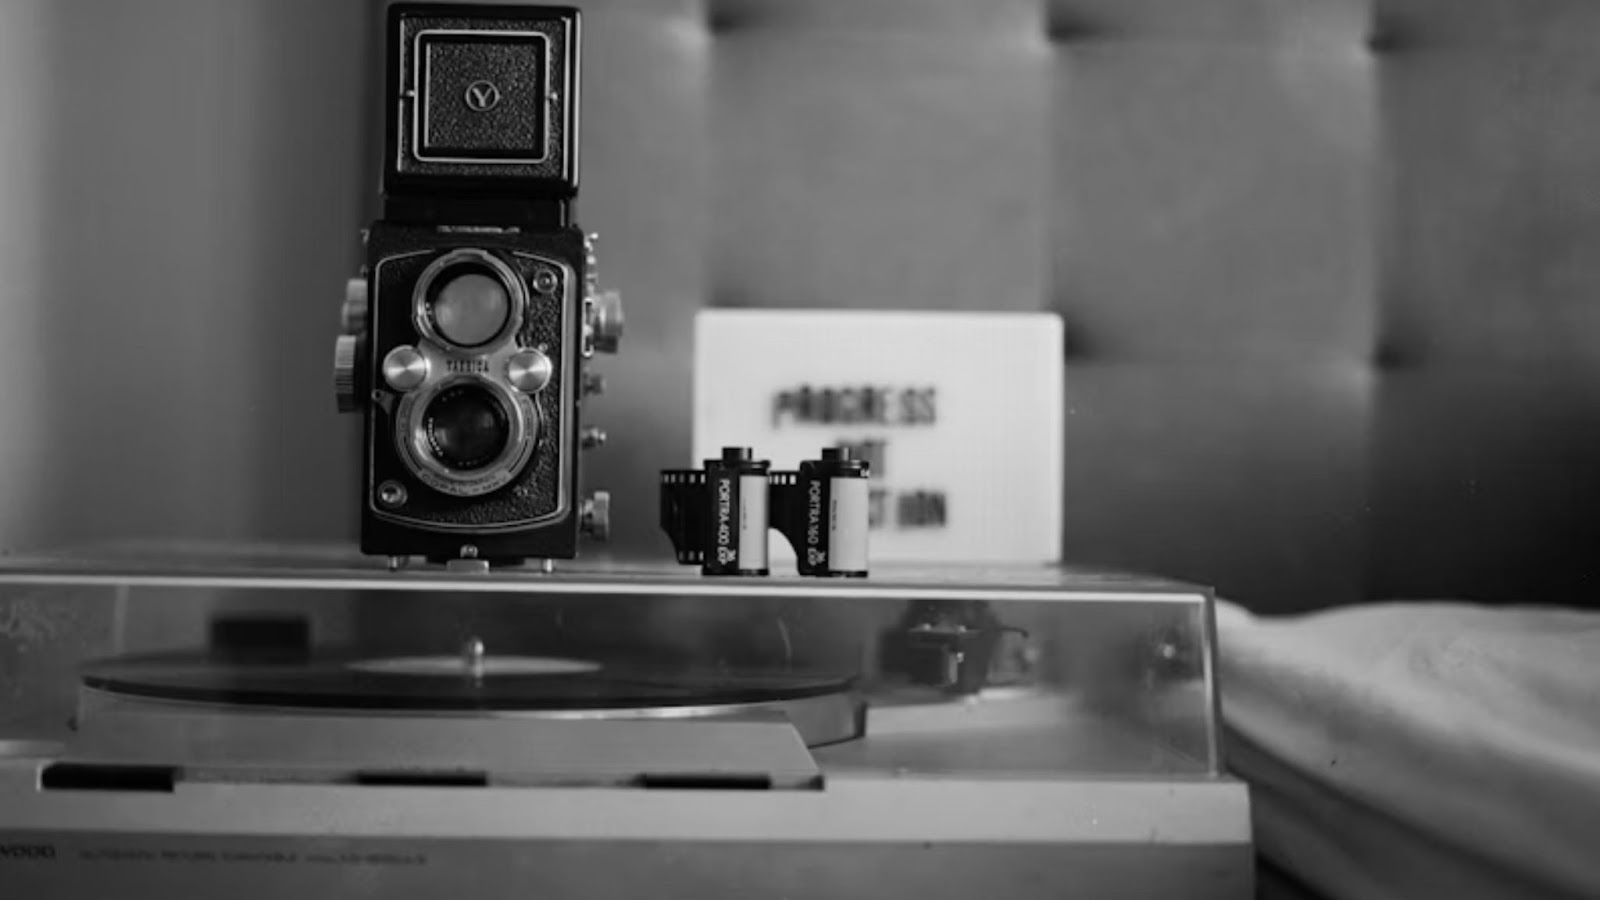
Essential Equipment for 35mm Film Development
Learning how to develop 35mm takes the right tools. So, let's go over what you'll need to start developing 35mm motion picture film at home. Developing tanks and reels are the base of your setup, and you've got two main options. Plastic and stainless steel. Plastic is a good starting point for beginners, while stainless steel is a better pick for durability. A two-reel tank is a good place to start since it lets you develop multiple rolls at the same time.
Chemical storage bottles should be made of amber or brown glass. You'll need one bottle for each type of developer, stop bath, and fixer. Accordion bottles are great because they prevent oxidation. Use graduations for accurate measuring. Go with glass or plastic that shows measurement markings. Having a range of sizes - like 50ml, 250ml, 500ml, and 1000ml- comes in handy.
Digital thermometers give you fast and accurate readings. A darkroom timer with easy-to-read numbers also helps you a lot. A darkroom or changing bag gives you the space you need to load film onto reels. If you're just starting, a changing bag is a much better option. On the other hand, a dedicated darkroom offers more room to move around.
Understanding Film Development Chemistry
The science behind how to develop 35 mm film involves three chemical processes. These work together to turn exposed film into visible negatives. Developers are the key to turning exposed silver particles into the actual image. Different ones produce different contrasts and grains.
Well-known developers include D-76 for a fine grain look, HC-110 for having a long shelf life, and Rodinal for extra sharpness. These developers work differently with various types of film, so trying them out is a good way. A stop bath immediately stops development and counteracts the alkalinity. Although some photographers use plain water, an acetic acid stop bath tends to give more consistent results.
Fixer gets rid of unexposed silver halides, so your image stays put under regular lighting. If you're working with our high-end orwo film shop, use a hardening fixer.
Step-by-Step Guide: How to Develop 35mm Film
Let's go through the process of how to develop 35mm film from start to finish. This guide works for all types of film, including ours.
Preparation Phase
- Keep all your chemicals at 68°F (20°C) for consistent results. If you're in a room with a wonky temperature, use a water bath.
- Next, using fresh chemicals is the best way to get predictable results. If you're working with orwo film shop, use the dilution ratios we recommend for the best outcome.
- Now, set up your workspace by having all your materials within reach. Using low, amber lighting helps you see what you're doing.
- Lay out your chemicals in the order you'll use them: developer, stop bath, and then fixer.
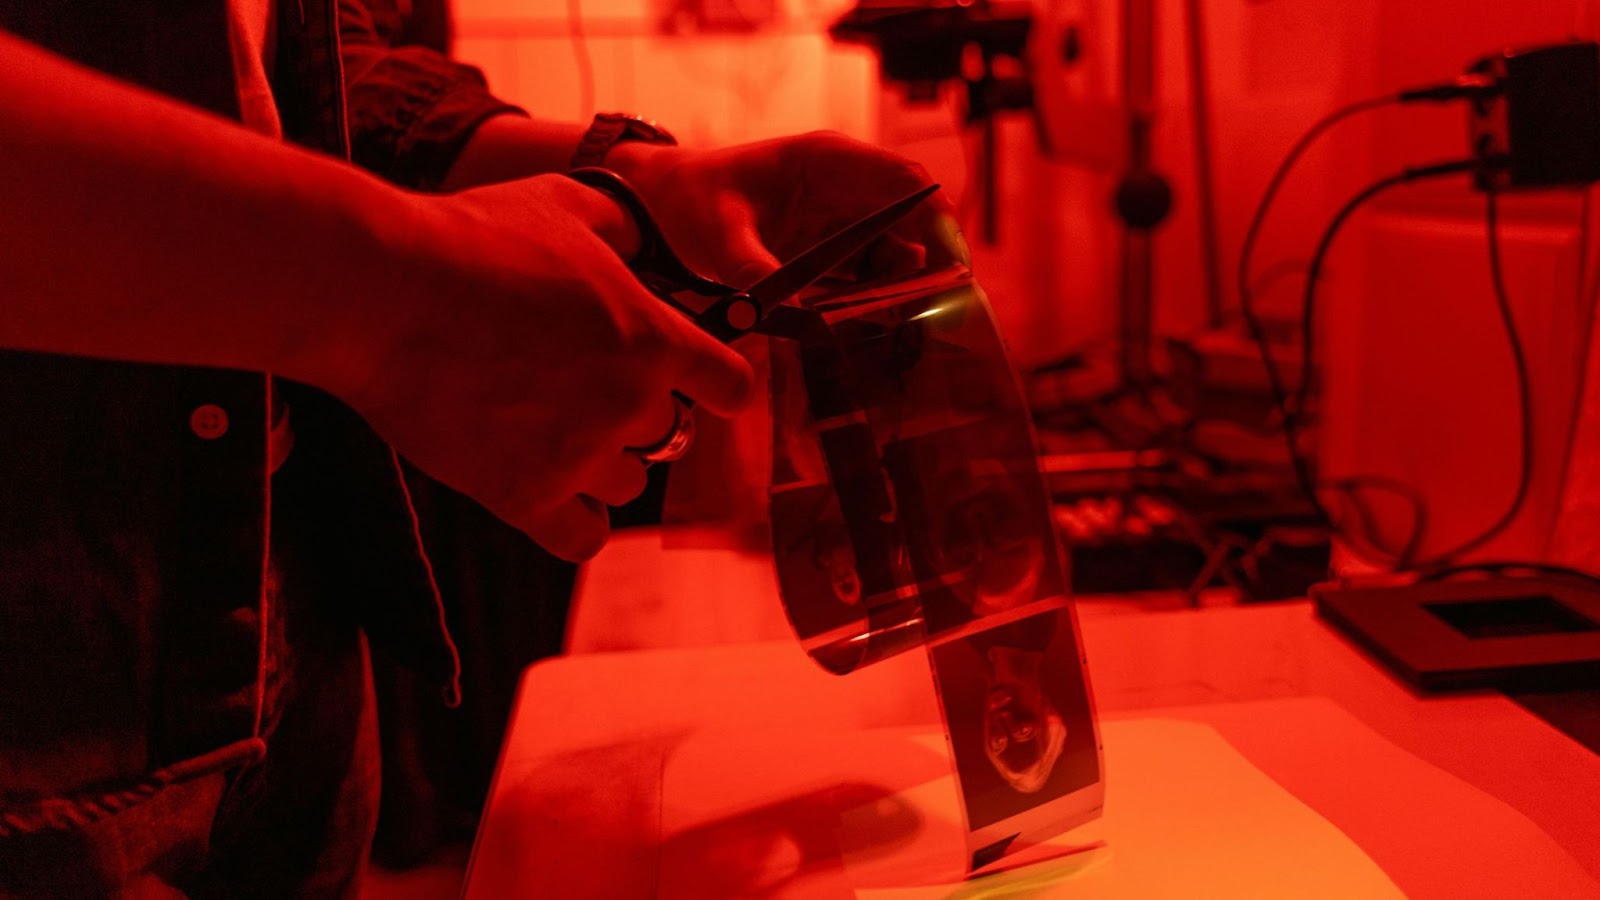
Loading Film in Complete Darkness
- Mastering this step is key if you want to learn how to get 35mm film developed. One good tip is to practise loading some dummy film in daylight.
- Take the film out of its canister. Handle it carefully so you don't scratch the emulsion. Cut the leader end straight across to make it easier to load.
- Load film onto the reel by feeding it into the outer spiral track. Move the film inward gently. If it gets stuck, unwind a little and try again.
- Put the loaded reel in the developing tank. It's light-tight, so once it's sealed, you can switch to regular lighting.
Development Process
- Pre-washing your film in water helps get rid of the anti-halation backing and gets the emulsion ready for development.
- Now it's time to add a developer and start your timer. The way you agitate the tank can really make a difference. So, invert the tank four times at first and then once every 30 seconds from then on.
- The development time you use depends on the type of film and the contrast you're after. Our Orwo film shop loves longer development times when you're trying to push the exposure.
- Stop baths require 30 seconds of constant moving around. This step is very important for making the roll develop evenly.
- Finally, fix the film for the amount of time recommended by the manufacturer. Proper fixing is key to keeping your negatives from fading.
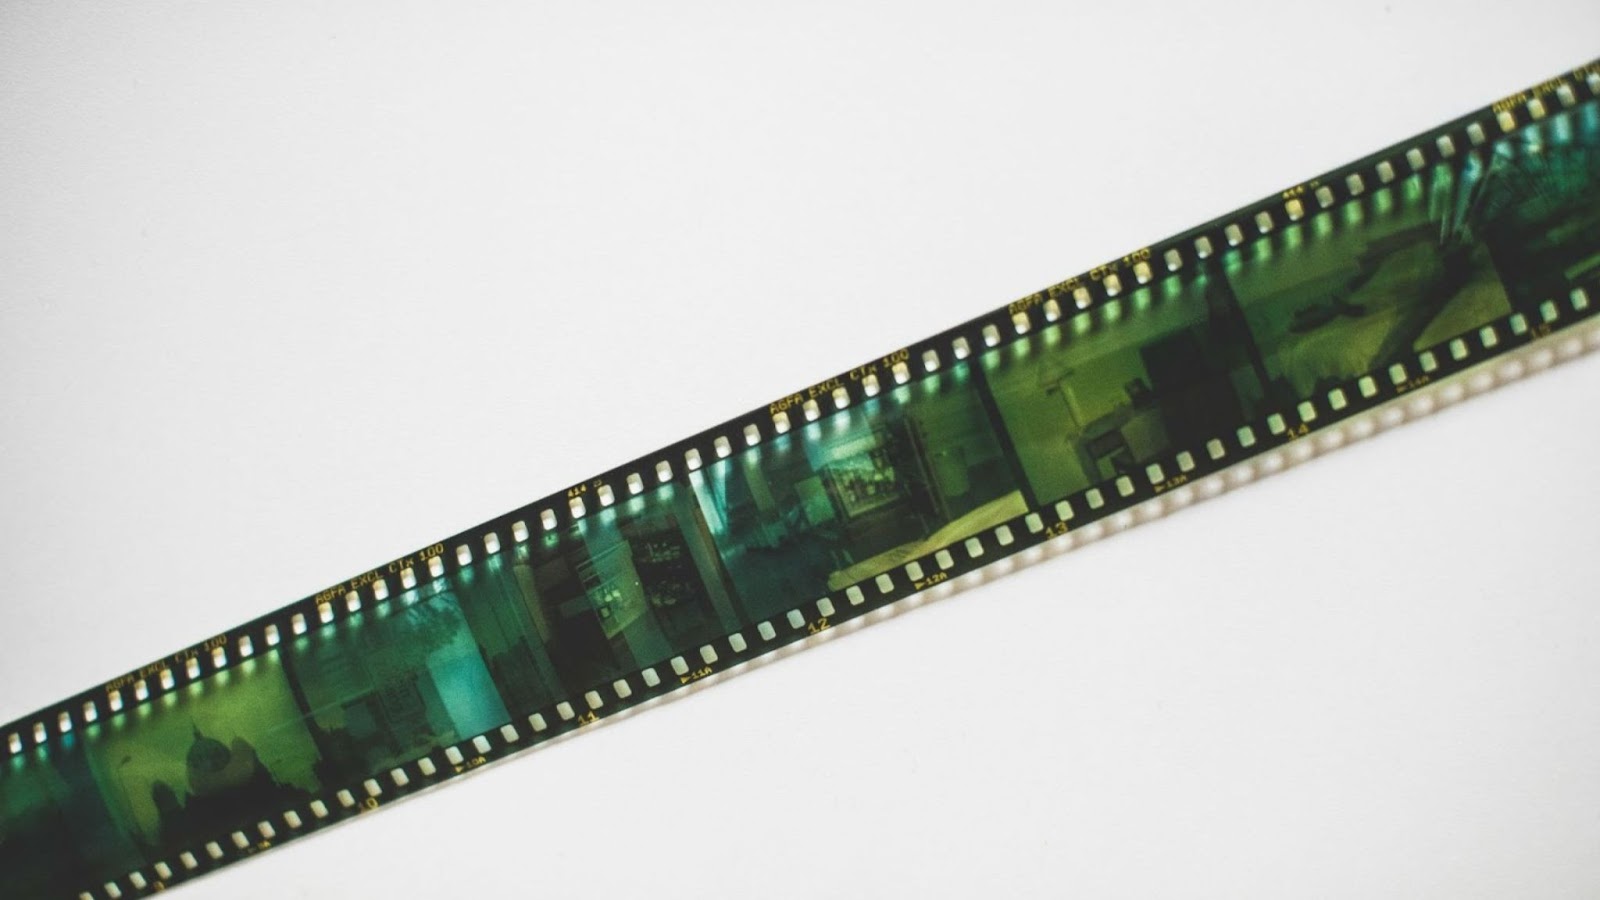
Washing and Drying
- The initial wash gets rid of leftover fixer with a gentle flow of water. Try to keep the water temperature close to what you used during processing.
- Photo-flo or wetting agent stops water spots from forming while it dries. Use it sparingly.
- Hang it up to dry in a room that's free from dust. Film clips or clothespins are great for this. Drying usually takes 2-4 hours, depending on the humidity.
Advanced Techniques for Better Results

Once you've mastered the basics of how to develop 35mm techniques, you can take your skills to the next level with these advanced techniques:
- Push and pull processing gives you control over contrast and exposure. If you overdevelop (push), you'll get more contrast. Underdeveloping (pulling) reduces contrast. orwo film shop does really well with push processing.
- Stand development brings out shadow detail. You do this by mixing the developer with a lot of water (1:100 or more) and letting it develop.
- Temperature compensation is useful if you can't keep the temperature exactly right. If it's warmer, you need shorter development times. If it's cooler, you need longer times. A development time calculator can help you get the exact adjustments you need.
Common Problems and Solutions
Learning how to develop film 35mm can be a challenge. You'll run into a few problems. Here are some solutions to the most common issues:
- Streaks on your negatives are often due to not agitating them enough or using old developer. To avoid this, try to agitate them consistently and use fresh chemicals.
- Scratches can happen when loading or drying your film. To prevent this, practise loading your film carefully. Our orwo film shop has tough emulsions.
- If your negatives have a cracked appearance, it's likely due to temperature changes. To avoid this, keep the temperature consistent when processing your film.
- If your pictures are too grainy, you might be overdeveloping them. Follow the recommended times to avoid this. Our ORWO fine-grain films can help minimise grain.
Cost Analysis: How Much Does It Cost to Develop 35mm Film?
Understanding how much does it costs to develop 35mm film helps make the case for investing. Breaking down the numbers is a good place to start.
- Lab costs usually run $12-25 per roll, depending on where you live. If you process 20 rolls a year, that's $240-500.
- Developing at home costs some upfront cash for equipment ($150-300). Once you hit 50-75 rolls, you're actually saving money by DIY.
- Time commitment is about 2-3 hours for a full development session, but you can do multiple roles at the same time.
Building Your Home Darkroom
As you advance in how to develop film 35mm, having a dedicated darkroom is crucial. It helps you take your skills to the next level and get more consistent results.
Not enough space? Just find a closet, bathroom, or corner in the basement. Good ventilation is a must for safety reasons, and having water nearby is recommended.
Upgrading your gear could mean getting an enlarger, better storage, and a way to control the temperature. Start with the basics and add more equipment as you make your way up.
Staying safe is a must. You'll need good airflow, a spot to store chemicals, and protective gear. Always read the safety details for each chemical.
To Sum Up
Learning how to develop 35mm film ties you to the roots of photography, and developing at home changes how you interact with photography.
Shooting our premium ORWO black and white films, this guide just gave you the basics for consistently delivering professional results. Remember that learning how to develop film 35mm is a journey, and every roll is a chance to pick up something new.
Investing time and equipment really pays off when shooting film. You get to enjoy more, save some cash, and just get better at the job. And the more roles you develop, the more you'll get to know.
At orwo film shop, we want you to have fun with it. Whether it's our classic 35mm motion picture film stocks or our newest photographic emulsions.


